
If you are a beginner in baking, then follow these 10 tips for baking a perfect eggless cake.
Baking a cake is simple if we follow the exact recipe and measurements. But sometimes, even after following the recipe precisely, we don’t get that perfect texture and result.
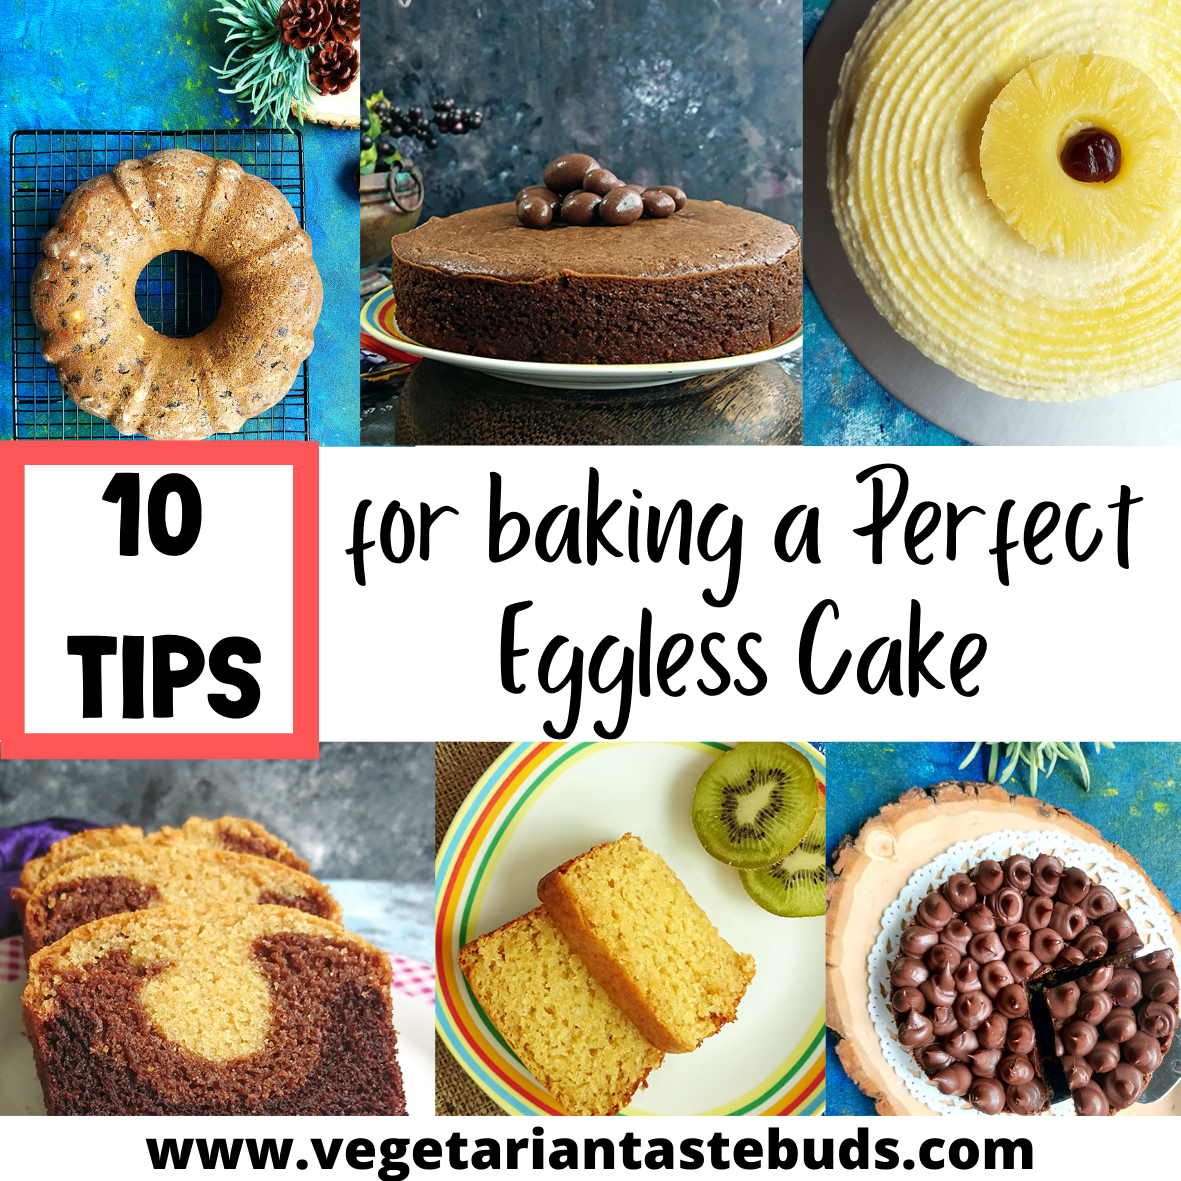
10 Tips for baking a Perfect Eggless Cake
So now just go through these 10 tips which will help you in your baking journey. We are sure once you will follow these tips, you will start baking perfect eggless cakes.
1. Ingredients should be at room temperature
The first and a very important rule for baking a perfect cake – all the ingredients used should be at room temperature. This is a very basic rule, but this affects the texture of the cake.
2. Measuring Ingredients
If measuring by weight, then make sure it is accurately measured in grams and if you are using cups/spoons then be precise with that. If using measuring cups or spoons, always level the flour or baking powder/soda and then add it to the batter. Do not fill heaped or partially filled. A surplus or shortfall of just 1 tablespoon can change the texture of your cake.
3. Be careful while adding liquid to the batter
Do not add the full quantity of liquid at once as mentioned in the recipe. Before adding the dry ingredients, add only half the quantity and mix. Then gradually add the remaining quantity after adding dry ingredients and mix well to get a lump-free batter. The consistency of the batter should be such that it should easily drop from a spatula. You can adjust the quantity of liquid as per your flour type.
4. Do not over-mix the cake batter
There is a possibility that the cake will turn out to be dense if you will over whisk the batter.
So, what is the correct method or time for mixing the batter? Just whisk till everything gets combined well and you get a lump-free batter. Always use a hand whisk if you are a beginner. There are more chances of over-whisking when you use an electric whisk.
5. Cake Tin Size
For 1-1.5 cups of flour, you can use a 6” – 7” cake tin. But the cake tin size depends on how tall or flat you want your cake to turn out. There are a few points which you should keep in mind:
If you are using a smaller tin, the cake will rise but there will be cracks. Don’t worry about that, also, baking time will increase. Similarly, for bigger tins, baking time will reduce.
6. Grease your cake tin properly
Greasing the tin is one of the most important steps to consider in the baking process. If the tin is not greased properly, the cake will not demould properly. There are 2 ways you can grease your cake tin. Grease the cake tin with oil/butter and line it with parchment paper. You can even grease the cake tin with butter/oil and dust it with flour.
Also, do not forget to grease the sides of the tin as well. Usually, we only grease the base and tend to forget the sides. So, the cake gets stuck from the sides. You can even use parchment paper strips on the sides of the cake tin. But usually greasing the tin well does the trick. If you are dusting flour, do cover even the sides of the tin. After that, invert the tin, tap, and remove excess flour.
7. Pre-heating the oven
Pre-heating the oven is very important before you place your cake batter for baking. Once you are ready with your dry ingredients and wet ingredients, put your oven to pre-heat. Then you can go ahead and combine dry with wet ingredients.
Now let’s see what happens when the oven is not preheated enough or over-preheated:
The oven is not pre-heated properly – If the oven/convection is over-preheated, then your cake will rise and will appear to be cooked from outside. But it will remain uncooked from the center.
Alternatively, if it is not pre-heated enough, then it will take 5-10 mins more to bake than the usual time mentioned. But that will make your cake hard from the edges.
8. Baking Time & Temperature
Baking time will vary for every convection oven or OTG. It also depends on the watt capacity of your oven. So whatever time is mentioned in the recipe, you don’t need to stick to that exactly. Say for example baking time of 30 minutes is mentioned. You need to be alert and keep checking your cake after 25 minutes. Your cake may take anywhere from 25 – 35 minutes. There is no need to open the oven door to check frequently. Just observe whether the cake is done from the sides. If so, it must leave the sides and you will even observe cracks on top.
The same thing applies to baking temperature. Usually, it will be 180 degrees. But it may or may not be suitable for your oven. Your oven might be of higher watt capacity or litres, then your cake might get overbaked at 180 degrees. For you, 160/170 degrees might be the perfect temperature.
As we mentioned earlier, baking time also varies for tin size and cake quantity.
So, for any recipe, take the mentioned baking time and temperature as a base for the first time. Once you start baking frequently, you will get an idea about the exact baking time and temperature for your baking setup.
9. De-moulding the cake
Remove the cake from the oven and insert a toothpick into the middle of the cake. If the toothpick comes out clean, the cake is ready. If it doesn’t come out clean, bake for a few more minutes.
Once the cake is baked, cover and let it cool down for at least 30 minutes before demoulding. You can even keep it for a longer duration, but not less than 30 minutes. Once slightly cooled, invert on a wire rack.
10. Cooling the Cake
Cover the cake on a wire rack and allow it to cool completely for 3-4 hours. Once it comes to room temperature, cut into slices and enjoy. If you wish to frost the cake, then cover with cling wrap and refrigerate for at least 5-6 hours before frosting, which will allow you to cut the cake into layers easily.
Frequently Asked Questions
1) Cake looks cooked from the outside but when we insert a toothpick it is completely uncooked from the inside, what can be the reason?
Reason 1: Oven is not pre-heated properly – If oven/convection is over-preheated, then your cake will rise and will appear to be cooked from outside. But it will remain uncooked from inside.
Alternatively, if it is not pre-heated enough, then it will take 5-10 mins more to bake than the usual time mentioned. But that will make your cake hard from the outside.
Reason 2: Cake tin size – This is one of the most critical factors for baking a perfect cake. If the tin size is too small or big you have to adjust the time and temperature accordingly. The ideal tin size for 1-1.5 cups of flour is about 7 inches.
2)Cake is well baked, the toothpick comes out clean, but when it gets cooled, it sinks from the middle
Reason: Main reason for this is that the cake is baked at a high temperature or it is underbaked.
3)Cake turns out to be dry and dense instead of soft and fluffy
Reason 1: This can be because of over-whisking the cake batter. Always use a hand whisk if you are a beginner. There are more chances of over-whisking when you use an electric whisk.
Reason 2: There is a lack of moisture in the batter. The consistency of the batter should be such that it should easily drop from the spatula.
4)Cake tastes bitter after baking
Baking soda is alkaline, so it is necessary to add some acidic agent like vinegar or lemon juice to the cake batter along with it. If these things are not carefully mixed in with an acid that can neutralize them, they result in a bitter taste. Also, adding a little more baking powder to your cake batter also leaves a bitter taste after baking.
5)Can whole wheat flour be substituted in a recipe instead of maida?
Replacing all-purpose flour with whole wheat flour generally makes your cake to be more dense, dry, and crumbly. Also, whole wheat flour absorbs more water. So, we recommend you opt for 50:50 maida and wheat flour for the 1st time, and then for the next time try a little more wheat flour as compared to maida. Also, the quantity of liquid will vary.
More Baking Tips
How to substitute healthy flours for all purpose flour in bread baking
What is Delayed Salt Method in Bread Baking
Eggless Cake Recipes for Beginners

Recipe Card

10 Tips for baking a Perfect Eggless Cake
Loved this recipe? Leave a comment below and give us a 5★ rating
Instructions
- Ingredients should be at room temperatureThe first and a very important rule for baking a perfect cake – all the ingredients used should be at room temperature. This is a very basic rule, but this affects the texture of the cake.
- Measuring IngredientsIf measuring by weight, then make sure it is accurately measured in grams and if you are using cups/spoons then be precise with that. If using measuring cups or spoons, always level the flour or baking powder/soda and then add it to the batter. Do not fill heaped or partially filled. A surplus or shortfall of just 1 tablespoon can change the texture of your cake.
- Be careful while adding liquid to the batterDo not add the full quantity of liquid at once as mentioned in the recipe. Before adding the dry ingredients, add only half the quantity and mix. Then gradually add the remaining quantity after adding dry ingredients and mix well to get a lump-free batter. The consistency of the batter should be such that it should easily drop from a spatula. You can adjust the quantity of liquid as per your flour type.
- Do not over-mix the cake batterThere is a possibility that the cake will turn out to be dense if you will over whisk the batter. So, what is the correct method or time for mixing the batter? Just whisk till everything gets combined well and you get a lump-free batter. Always use a hand whisk if you are a beginner. There are more chances of over-whisking when you use an electric whisk.
- Cake Tin SizeFor 1-1.5 cups of flour, you can use a 6” – 7” cake tin. But the cake tin size depends on how tall or flat you want your cake to turn out. There are a few points which you should keep in mind:If you are using a smaller tin, the cake will rise but there will be cracks. Don’t worry about that, also, baking time will increase. Similarly, for bigger tins, baking time will reduce.
- Grease your cake tin properlyGreasing the tin is one of the most important steps to consider in the baking process. If the tin is not greased properly, the cake will not demould properly. There are 2 ways you can grease your cake tin. Grease the cake tin with oil/butter and line it with parchment paper. You can even grease the cake tin with butter/oil and dust it with flour. Also, do not forget to grease the sides of the tin as well. Usually, we only grease the base and tend to forget the sides. So, the cake gets stuck from the sides. You can even use parchment paper strips on the sides of the cake tin. But usually greasing the tin well does the trick. If you are dusting flour, do cover even the sides of the tin. After that, invert the tin, tap, and remove excess flour.
- Pre-heating the ovenPre-heating the oven is very important before you place your cake batter for baking. Once you are ready with your dry ingredients and wet ingredients, put your oven to pre-heat. Then you can go ahead and combine dry with wet ingredients. Now let’s see what happens when the oven is not preheated enough or over-preheated:The oven is not pre-heated properly – If the oven/convection is over-preheated, then your cake will rise and will appear to be cooked from outside. But it will remain uncooked from the center.Alternatively, if it is not pre-heated enough, then it will take 5-10 mins more to bake than the usual time mentioned. But that will make your cake hard from the edges.
- Baking Time & TemperatureBaking time will vary for every convection oven or OTG. It also depends on the watt capacity of your oven. So whatever time is mentioned in the recipe, you don’t need to stick to that exactly. Say for example baking time of 30 minutes is mentioned. You need to be alert and keep checking your cake after 25 minutes. Your cake may take anywhere from 25 – 35 minutes. There is no need to open the oven door to check frequently. Just observe whether the cake is done from the sides. If so, it must leave the sides and you will even observe cracks on top.The same thing applies to baking temperature. Usually, it will be 180 degrees. But it may or may not be suitable for your oven. Your oven might be of higher watt capacity or litres, then your cake might get overbaked at 180 degrees. For you, 160/170 degrees might be the perfect temperature. As I mentioned earlier, baking time also varies for tin size and cake quantity. So, for any recipe, take the mentioned baking time and temperature as a base for the first time. Once you start baking frequently, you will get an idea about the exact baking time and temperature for your baking setup.
- De-moulding the cakeRemove the cake from the oven and insert a toothpick into the middle of the cake. If the toothpick comes out clean, the cake is ready. If it doesn’t come out clean, bake for a few more minutes.Once the cake is baked, cover and let it cool down for at least 30 minutes before demoulding. You can even keep it for a longer duration, but not less than 30 minutes. Once slightly cooled, invert on a wire rack.
- Cooling the CakeCover the cake on a wire rack and allow it to cool completely for 3-4 hours. Once it comes to room temperature, cut into slices and enjoy. If you wish to frost the cake, then cover with cling wrap and refrigerate for at least 5-6 hours before frosting, which will allow you to cut the cake into layers easily.
Video

Leave a Reply