
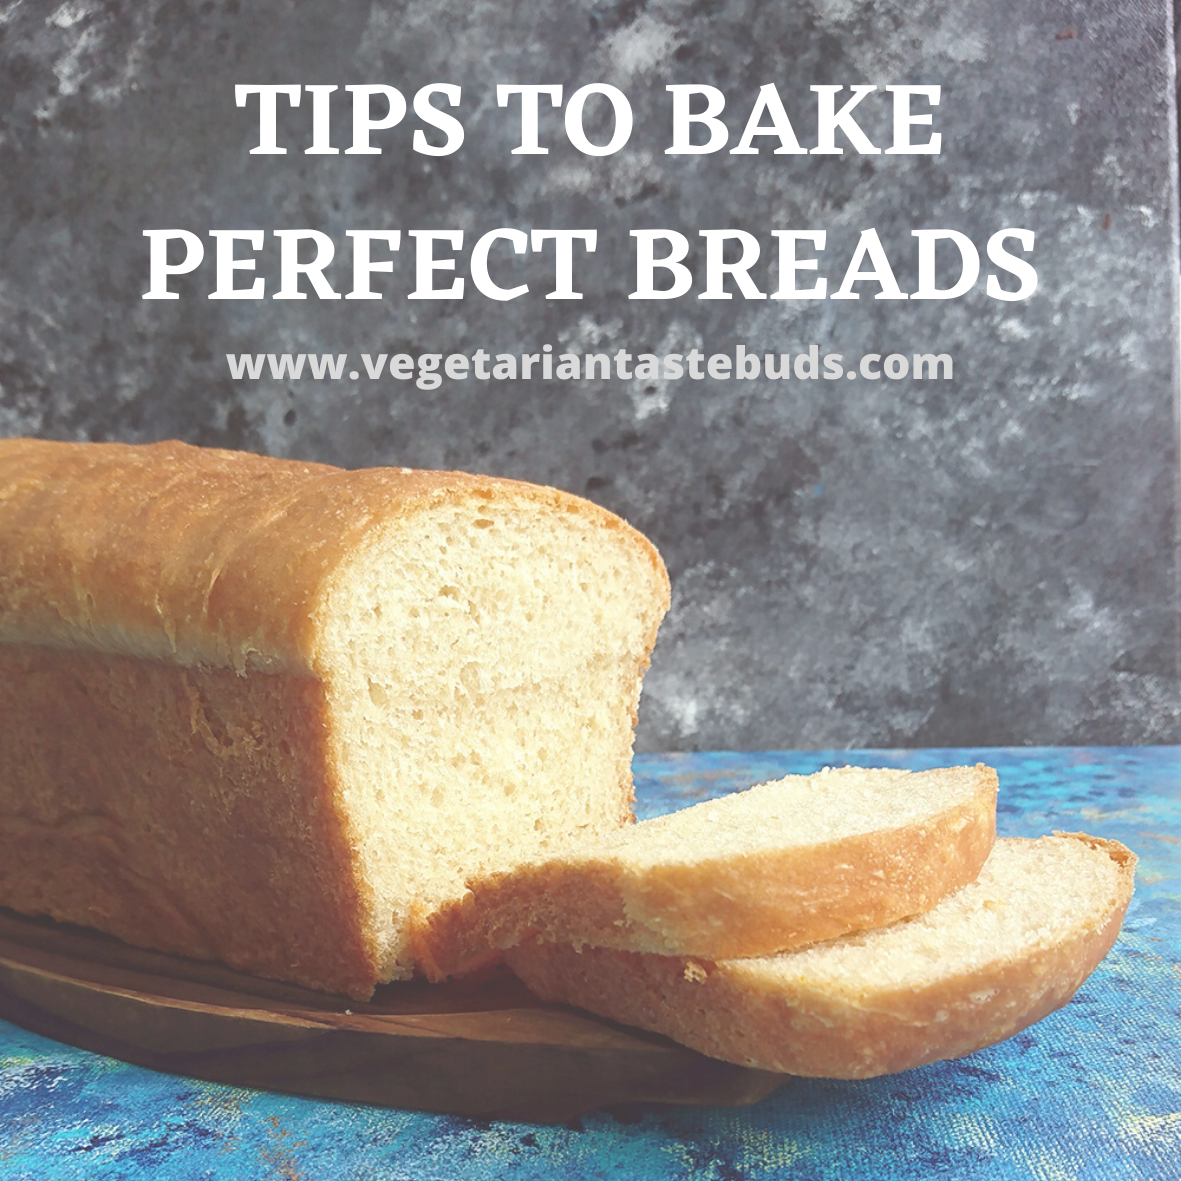
Tips to bake a perfect bread | follow these tips and suggestions for bread baking – compilation of 14 Bread Making Tips for Beginners
Homemade breads are always great and when we see that perfect loaf come out of our kitchen we feel a sense of happiness. But because of small mistakes or errors, sometimes we may not be able to bake that perfect bread loaf or pav (buns). We have compiled a list of mistakes that you can avoid while baking. Or you may even say that these are basic tips and suggestions that will help you bake a perfect bread.
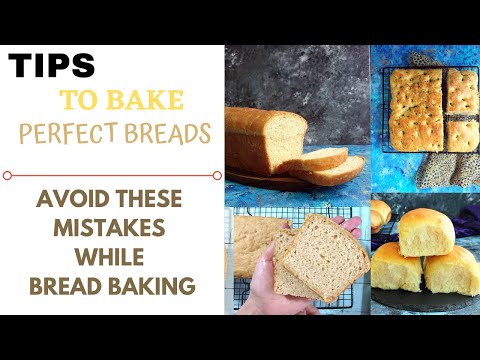
Watch the Video below:

Tips to bake a perfect bread | follow these tips and suggestions for bread baking
We have compiled a list of mistakes that you can avoid while baking. Or you may even say that these are basic tips and suggestions that will help you bake perfect breads.
Instructions
- Be accurate while measuring ingredientsBe accurate in measuring all the ingredients. eg – when recipe mentions 1 cup then level it exactly and do not take heaped cup.
- Ingredients at room temperatureAll the ingredients that you use while baking should be at room temperature.
- Temperature of water should be lukewarm while adding yeastWater should not be too hot, it should be just warm. To test, dip your finger in it, if you are comfortable then temperature is ok. If you feel it is hot then let it cool down a bit. If the water is too hot, it will kill the yeast and yeast mixture will not turn frothy. If it is too cold, it will take long time to ferment.
- There should not be any lumps in yeast water mixtureStir well till no lumps remain.If you see that there are lumps of yeast in the mixture, heat the mixture for a few seconds
- For how much time to knead dough & when we will know dough is readyIf you are a beginner in bread baking, recommended kneading time for the dough is 10 minutes. When you will start baking bread regularly you will get an idea about the texture of the dough.Once ready, dough will become elastic - you will be able to easily stretch the dough and dough will not stick to the surface in which you are kneading the dough.
- Do not add extra flour while kneading the doughWhen you will start kneading the dough, it will be sticky. But don’t add too much flour to the dough while kneading. If you want, you can sprinkle little flour. We have to change the texture of the dough by kneading, not by adding extra flour. Addition of extra flour to the dough will make the bread dry and crumbly.
- Add water/milk to the dough based on your judgement but not too lessYou can adjust the liquid to be added to the recipe based on your flour quality and judgement. But don’t reduce the quantity of liquid too much thinking that the dough will become sticky. If there is not enough liquid in the dough, bread will turn out to be dense.
- Over Kneading & Under Kneading the doughBread dough should not be kneaded too much nor too less. If you will knead the dough too much, it will result in bread that is baked dry, crumbly and dense. If you have not kneaded the dough properly (under kneading), it will result in a bread that lacks shape or it will have holes in the centre.
- Texture of the dough before 1st proofingOnce you are done with kneading, wash your hands so the dough doesn’t stick more. Texture of the dough should be smooth and elastic and not sticky
- Keep the dough properly covered while proofing everytimeIf you will not cover the dough properly, then because of contact with air a coat or layer will develop on the dough which will prevent the dough from rising further.
- Do not knead the dough too much before 2nd proofing Once the dough doubles in size, grease your palm with oil, punch the dough and knead lightly for about a minute. Over kneading at this stage will result in a flat bread. But it is very necessary to punch down the dough properly,otherwise there will be large holes in bread slices.
- Grease baking tin generously with oil/butterIt is very important to generously grease baking tin with oil or melted butter. Tin should be greased covering all the sides. This step is important to get a nice brown colour on the side of the bread loaf.
- After baking, wait for 10-15 minutes before unmoulding the bread from tinDo not keep the bread loaf in the tin after baking for more than 10 to 15 minutes. Keeping bread in the tin for more than 15 minutes will make the base soggy and sticky. But, wait for at least 10 minutes before demoulding bread from tin, otherwise But keep the maximum time to 15 minutes.
- Let the bread cool on a wire rack for at least 3 hours before slicingAfter demoulding, keep bread loaf on a wire rack and cover with a cloth. To get perfect slices, wait for at least 3 hours and then proceed to slice the bread.
Video
Leave a Reply