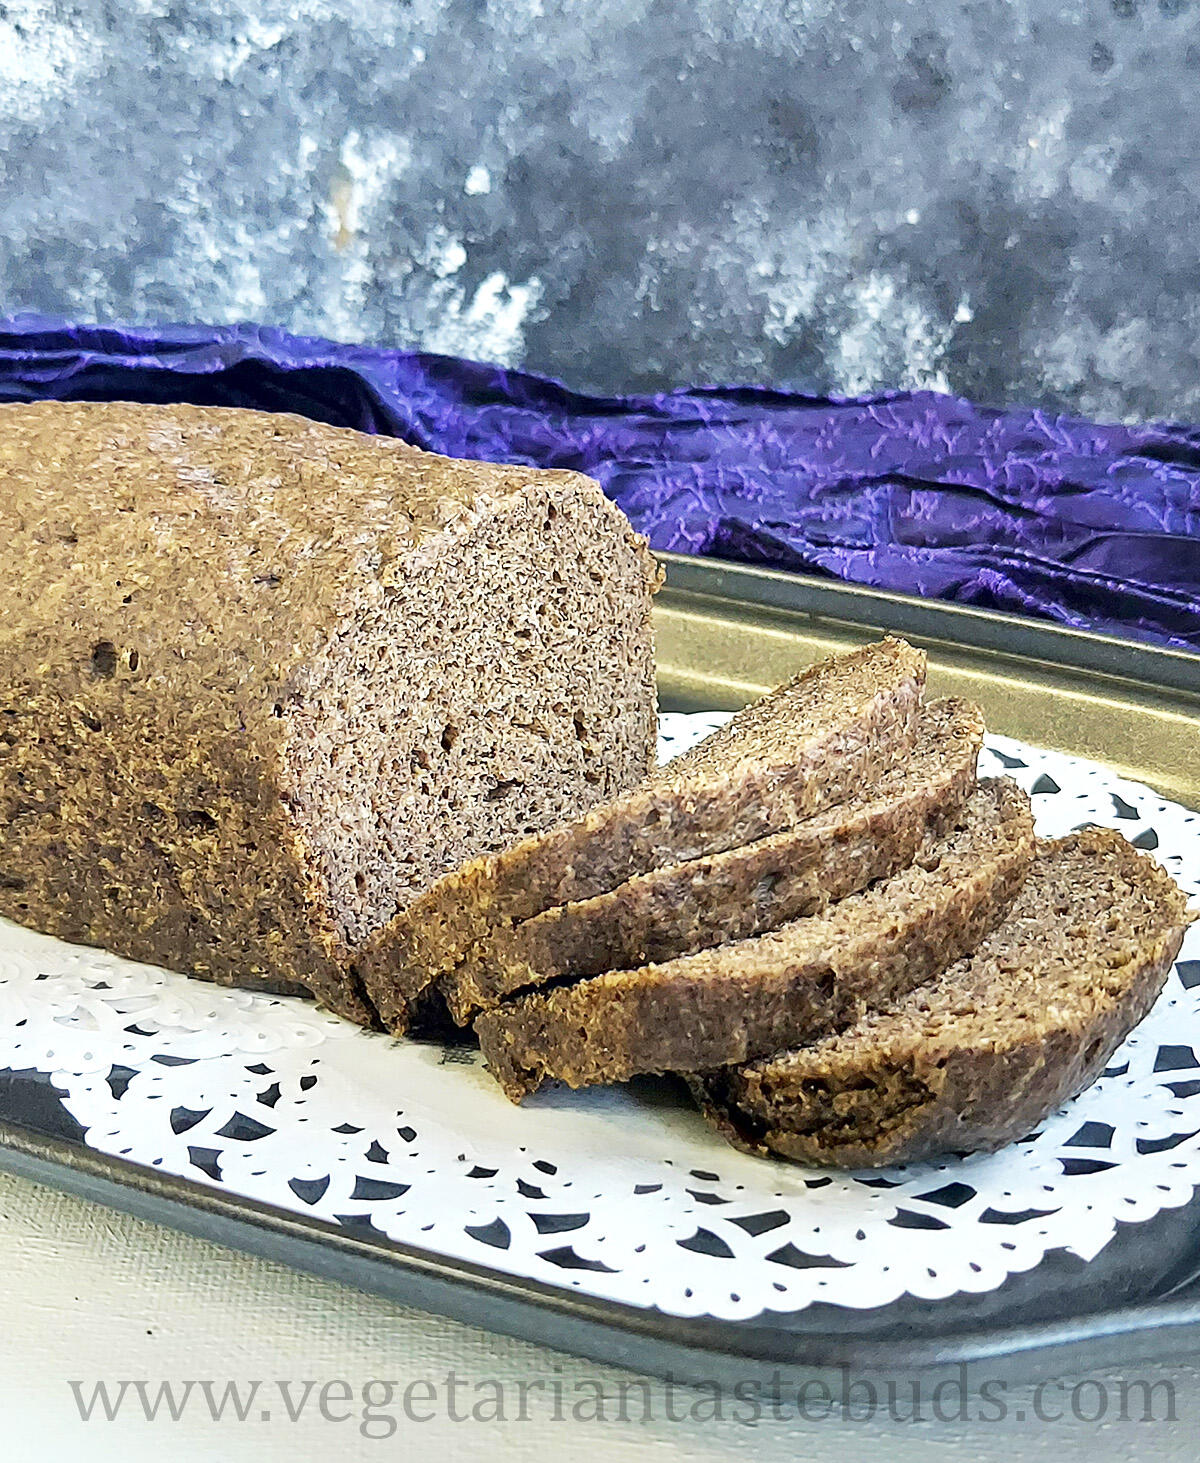
One of the most requested recipes since a long time is now ready to be baked in your kitchen – Eggless Gluten Free Bread. Ever since we published Gluten free cake recipe, we have received a lot of requests for gluten free bread recipe. So, after a lot of trials and errors, here it is.
About This Recipe
For this gluten free bread recipe, we have tried to keep the ingredients as minimum and as simple as possible. For the flours, we are using only two flours – Buckwheat Flour and Corn Starch (or corn flour).
Try to stick to the ingredients mentioned in the recipe. Wherever possible we have shared substitutes. But for the exact result, prepare the recipe with the mentioned ingredients.
We have used milk in the recipe, only for brushing on the top before baking. Just skip that part and brush with oil and this gluten free bread will be vegan.
An important part is that you can shape it as per regular bread. Do not worry about the sticky texture of the dough initially, follow the exact steps and you will end up baking a perfect gluten free bread.
Ingredients for gluten free bread
Water, Yeast and Sugar – For yeast fermentation, make sure water is lukewarm. We have used instant yeast. But you can use active dried yeast also.
1 teaspoon instant yeast = 1 ¼ teaspoon active dry yeast
You can reduce the proportion of sugar, but do not skip it since it helps activate the yeast.
Flours – For the flours, we have used buckwheat flour (kuttu ka atta) and corn starch. We have not tried using any other millet flours like sorghum (jowar flour), oats flour or any other. But you can definitely do trials and try substituting in a small proportion.
Apple Cider Vinegar – The addition of apple cider vinegar or any other acidic agent like vinegar or lemon juice makes the gluten-free bread light and airy. If you don’t have apple cider vinegar, then you can use regular vinegar, although we recommend using apple cider vinegar. If adding lemon juice, then reduce the proportion slightly.
Psyllium husk / Isabgol – This is one of the most important ingredients in this gluten-free bread recipe. Isabgol will act as a binding agent and result in the desired bread texture. It gives the required flexibility and elasticity to the dough.
Water – Moisture plays a very important part in gluten-free baking. If you will add very less liquid thinking that the dough has turned out to be sticky, then you probably will end up getting a dense and dry loaf. Do not worry about the sticky texture of the dough. Just follow the steps and slowly the dough will turn less sticky as you keep kneading.
Milk & Butter – We have used milk for brushing the bread. If you want to make a VEGAN version of this gluten-free bread then you can use oil for brushing the top of the bread before baking.
Butter for applying on top of bread loaf after baking. But you can skip that part too.
Video Recipe
How to make Eggless Gluten Free Bread – Step By Step Recipe
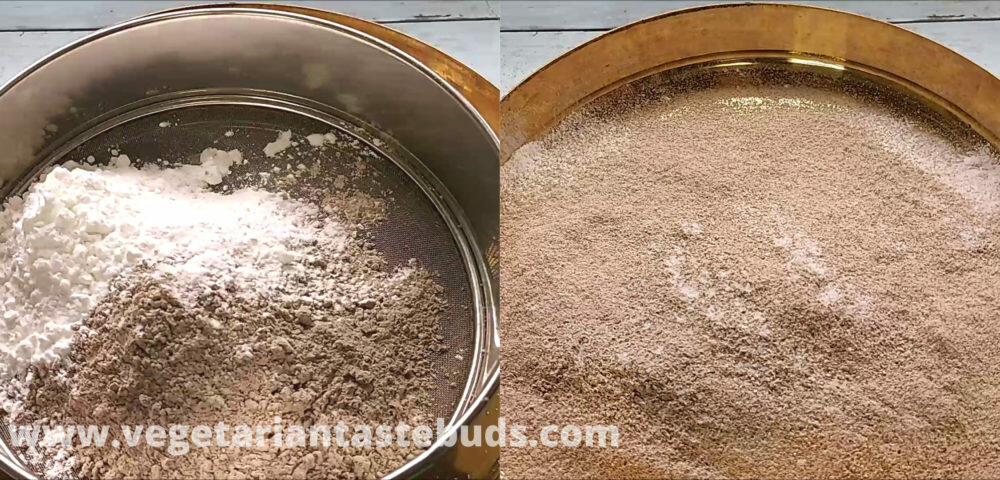
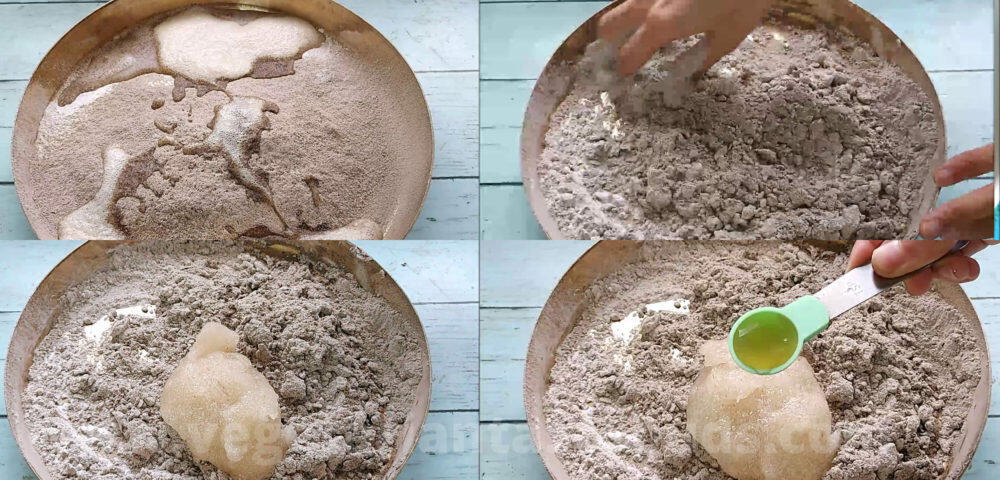
Through a very sieve, sift, buckwheat flour and corn starch. Add salt.
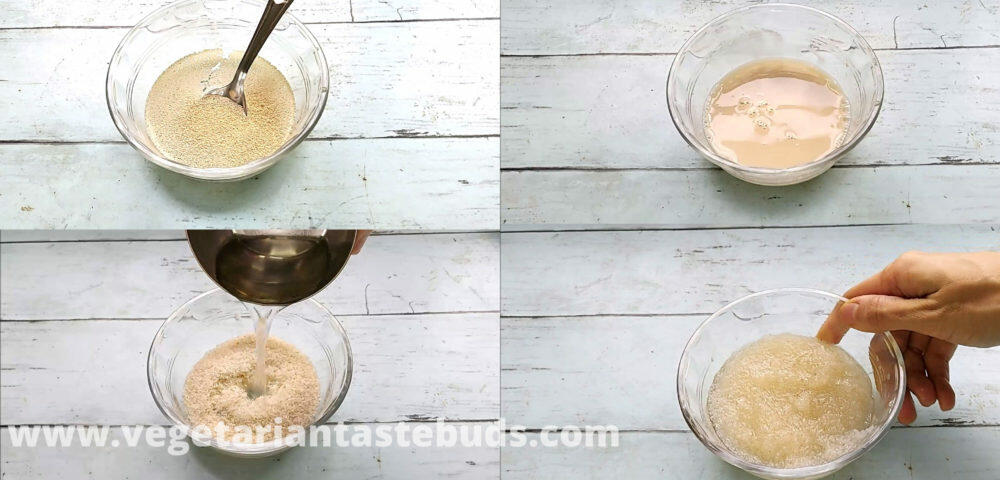
For yeast fermentation
In a small bowl, combine ¼ cup lukewarm water, yeast and sugar. Water should not be too hot, it should be just warm. To test, dip your finger in it, if you are comfortable then the temperature is ok. If you feel it is hot then let it cool down a bit.
Stir well till no lumps remain. If you see that there are lumps of yeast in the mixture, heat the mixture for a few seconds. Cover and set aside for about 10 minutes or till the mixture is frothy. If the mixture does not turn frothy, discard this and start again.
For the dough
In a small bowl, combine isabgol with ½ cup water. Mix well and keep aside for 1-2 minutes till it forms a gel like texture.
Now add the frothy yeast mixture to our dry ingredients and mix. Next add isabgol+water mixture, apple cider vinegar and mix. Add about 1-2 tablespoon water to combine everything well. If you feel the mixture is too dry, you can add a little more water. The quantity of water will depend on the quality of flours used. But do not add too much water since it will make the dough stickier.
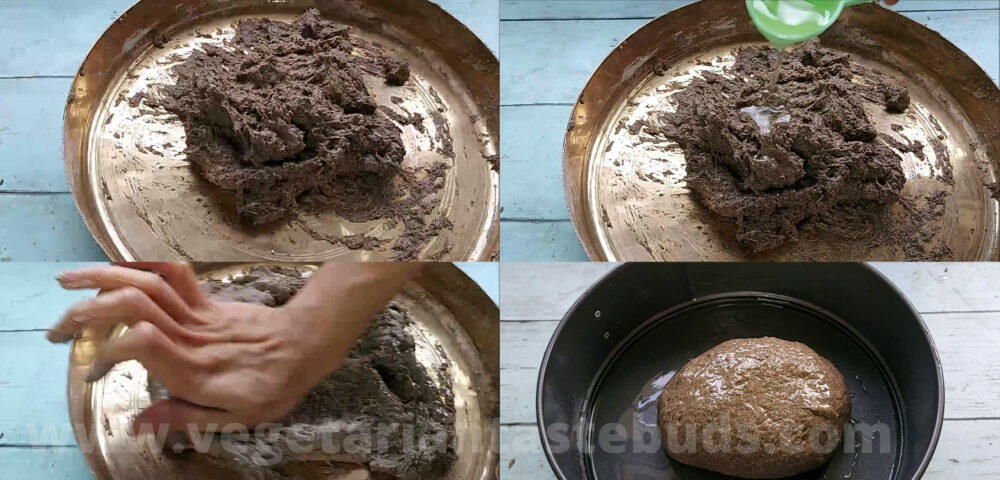
At this stage dough will be very sticky. Wash your hands so the dough doesn’t stick more.
Now take the dough on a flat surface and gradually add 1 tablespoon oil and start kneading. Knead well for 8-10 minutes till it becomes non-sticky and little elastic. The texture of the dough should be smooth and not sticky. Then put few drops of oil on the dough and shape the dough into a smooth ball.
Take a bowl, grease it with some oil and place the dough in the bowl. Coat dough with oil, cover the dough with a kitchen towel or plate. Keep aside to rise for 45 minutes – 1 hour or till dough doubles in size.
Please note we have used 1 tablespoon oil in total for the dough including coating.
Grease 6 – 7 inch loaf tin with generous amount of oil. We have used 7 inch tin.
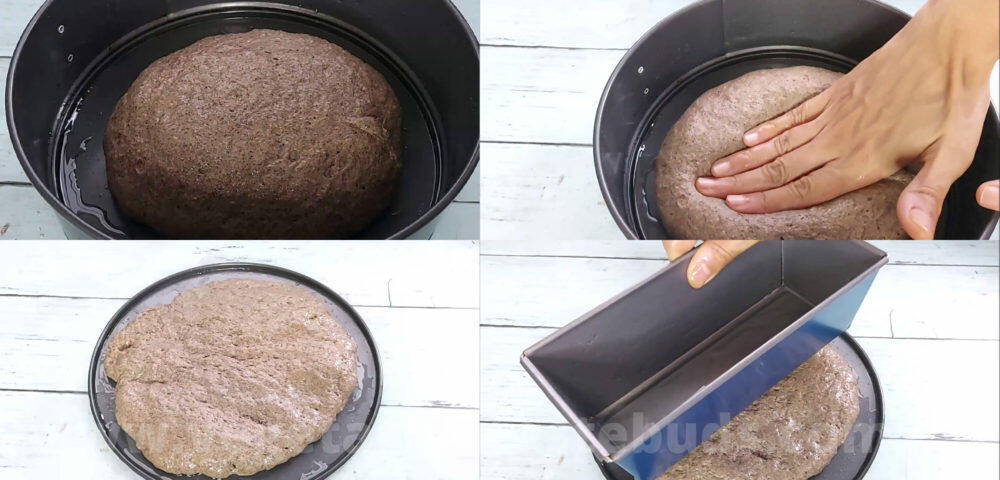
Once the dough doubles in size, grease your palm with oil, punch the dough and knead lightly for about a minute.
Take the dough on a flat surface. Spread little oil and flatten the dough with your fingers. Measure it with your baking tin just as shown.
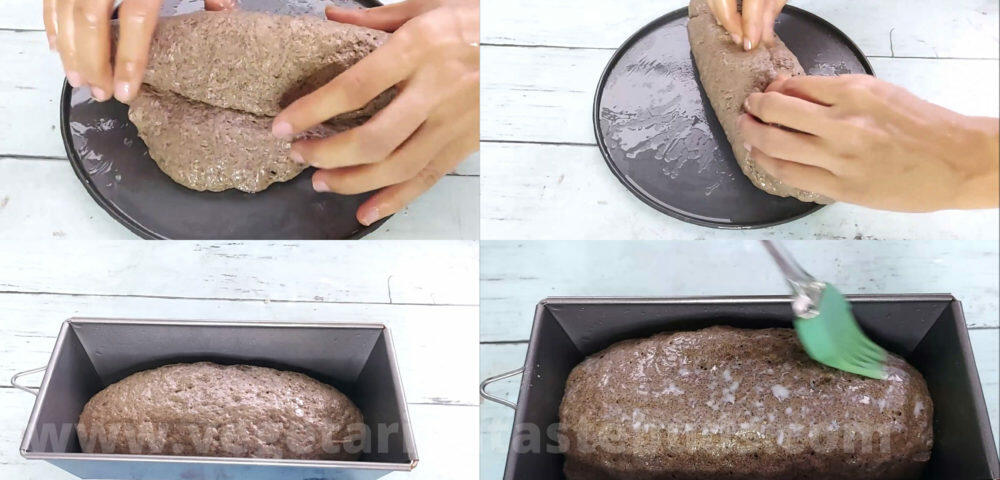
Start rolling from one edge and roll lightly. Keep sealing while rolling. Also, fold both the edges. Now flip the roll and pinch lightly to seal.
Place the loaf into greased baking tin, cover and let it proof for another 30-35 minutes.
Pre-heat oven to 180 degrees Celsius.
After 35 minutes, brush the top of bread with milk and bake in preheated oven at 180 degrees Celsius for 30-35 minutes or until the top turns light brown.
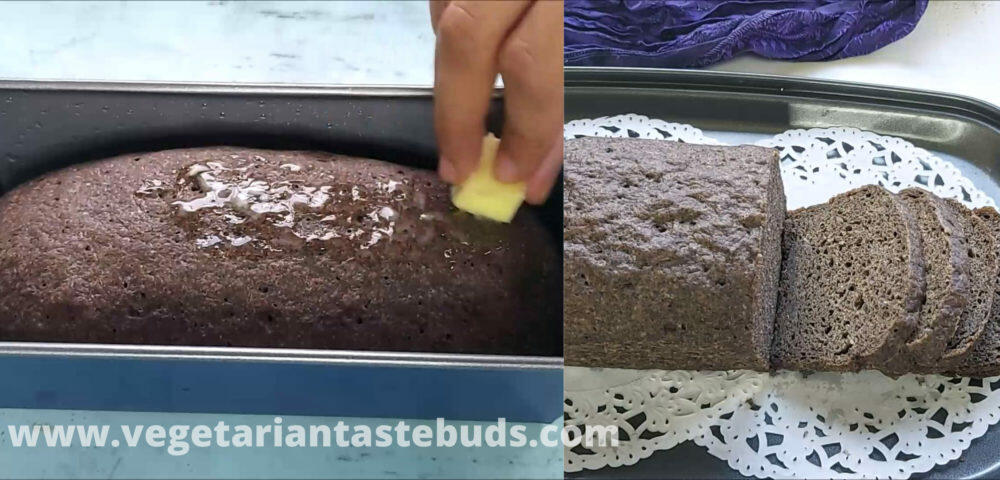
Once baked, take it out of oven. Top part will be hard. Immediately apply butter on top.
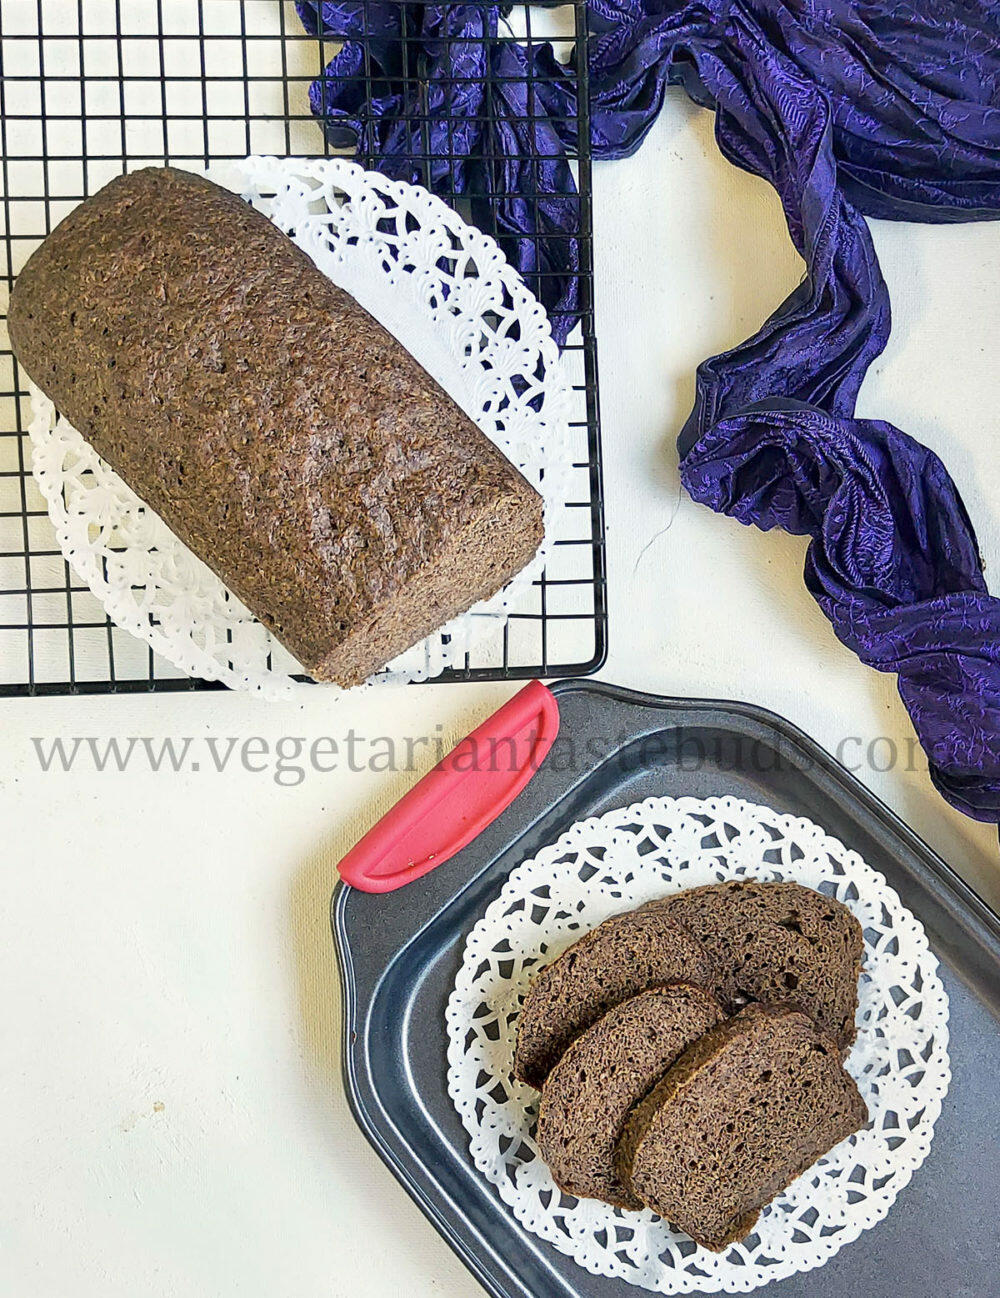
Cover and let it cool for 5-10 minutes. Then invert and keep on a wire rack. When you will invert, the bottom part will be slightly soft, but it will be ok once it cools down completely.
Again cover and let it cool down completely on the wire rack for at least 2-3 hours.
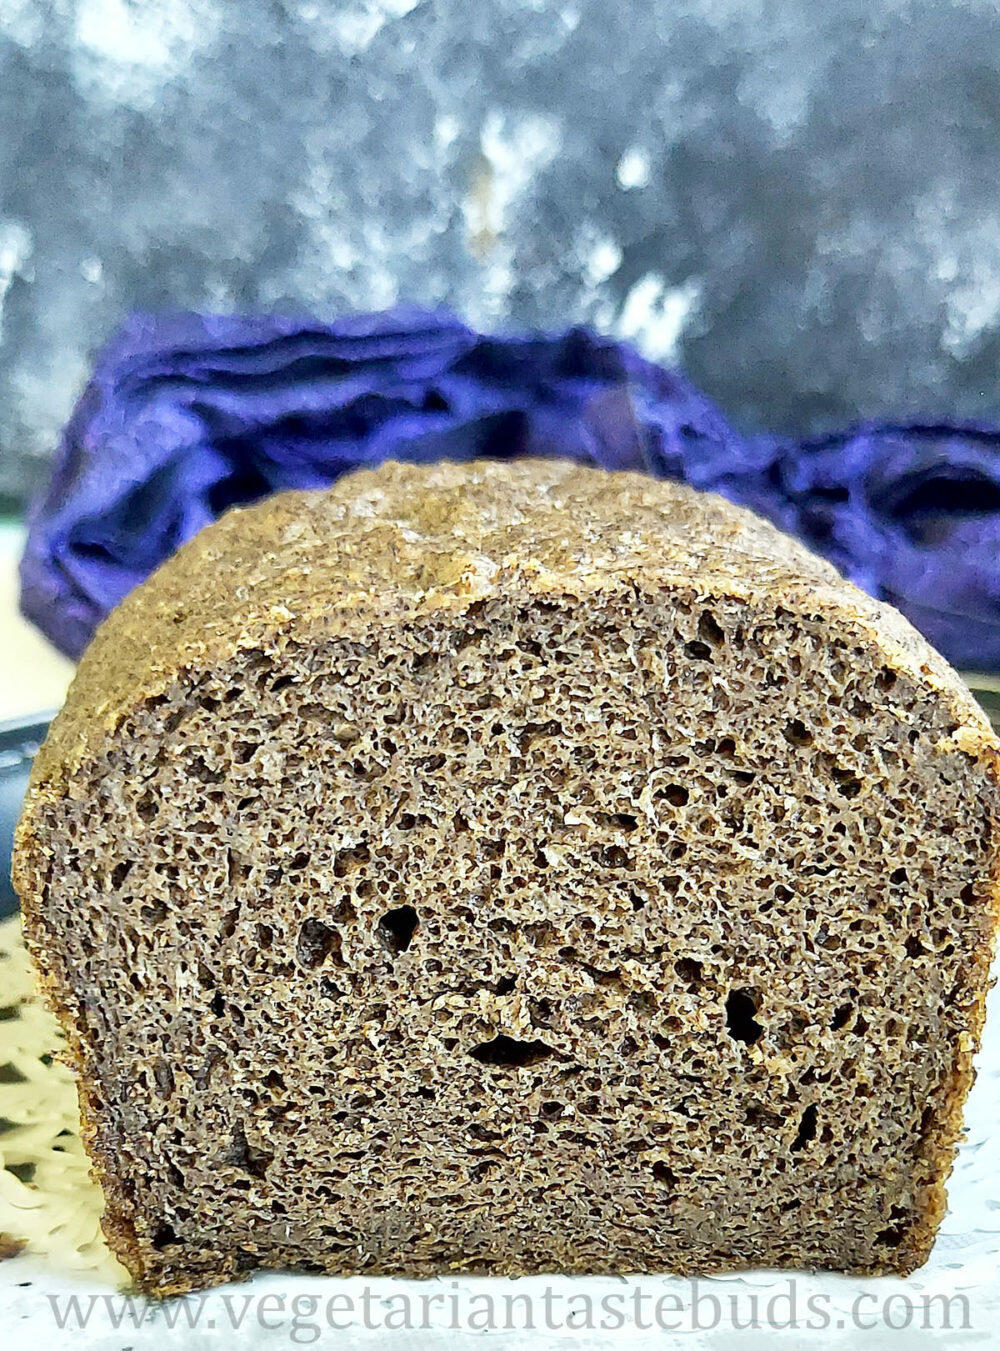
Once the bread cools down completely, slice with a serrated knife. Enjoy.
Frequently Asked Questions
Why gluten free bread is dry and crumbly ?
Gluten free flours behave in a different manner than regular flours. So for gluten free baking, it is very important to add a few ingredients that make the bread light. Sometimes we tend to increase the proportion of yeast to make the bread soft, but that is not a recommended solution since it will yield a yeasty smelling bread. Also, the proportion of moisture is another thing to be kept in mind. Gluten free breads require a little more moisture.
Why does my gluten free bread collapse after baking ?
Do not knead too much before 2nd proofing and do not overproof your bread before putting it in the oven. Over-proofing will increase too much air into the dough and cause the loaf to collapse either in the oven or after removal.
Can we replace apple cider vinegar in gluten free bread recipe ?
If you don’t have apple cider vinegar, then you can use regular vinegar, although we recommend using apple cider vinegar. If adding lemon juice, then reduce the proportion slightly.
You can also refer to our detailed post on Tips to bake perfect breads. We have compiled a list of mistakes to avoid that you can avoid while baking. Or you may even say that these are basic tips and suggestions that will help you bake a perfect bread.
Storage
Take an air-tight container and spread paper towel in the bottom. Place the bread in it and close. Keep the bread at room temperature for 2 days. Day 1 is the day when you prepare and Day 2 is the next day. Keep in the refrigerator at the end of Day 2. It will stay good in the fridge for another 3-4 days.
Do have a look at our Bread Recipes:
Whole Wheat Vegetable Stuffed Braided Bread
10 tips to make the perfect bread + Fail proof Basic Sandwich Bread Recipe
10 tips to make the perfect Ladi Pav + Tried and Tested Ladi Pav Recipe
Eggless Whole Wheat Beetroot Burger Buns
Recipe Card
Eggless Gluten Free Bread
Loved this recipe? Leave a comment below and give us a 5★ rating
Ingredients (1 cup = 240 ml)
For yeast fermentation
- ¼ cup lukewarm water
- 1 teaspoon instant dry yeast
- 1 teaspoon sugar
For the dough
- slightly less than ¾ cup buckwheat flour (kuttu ka atta) 110 grams
- ⅓ cup + 1 tablespoon corn starch / corn flour 50 grams
- ½ teaspoon salt
- 2 tablespoon psyllium husk / isabgol (10 grams)+ ½ cup water to mix with isabgol
- 1 teaspoon apple cider vinegar
- 1 tablespoon odourless oil
- 1-2 tablespoon water or as required
- milk,butter for brushing on bread
Instructions
For yeast fermentation
- In a small bowl, combine ¼ cup lukewarm water, yeast and sugar. Water should not be too hot, it should be just warm. To test, dip your finger in it, if you are comfortable then temperature is ok. If you feel it is hot then let it cool down a bit.
- Stir well till no lumps remain. If you see that there are lumps of yeast in the mixture, heat the mixture for a few seconds. Cover and set aside for about 10 minutes or till the mixture is frothy. If the mixture does not turn frothy, discard this and start again.
For the dough
- Through a very sieve, sift, buckwheat flour and corn starch. Add salt.
- In a small bowl, combine isabgol with ½ cup water. Mix well and keep aside for 1-2 minutes till it forms a gel like texture.
- Now add the frothy yeast mixture to our dry ingredients and mix. Next add isabgol+water mixture, apple cider vinegar and mix. Add about 1-2 tablespoon water to combine everything well. If you feel the mixture is too dry, you can add a little more water. The quantity of water will depend on the quality of flours used. But do not add too much water since it will make the dough stickier.
- At this stage dough will be very sticky. Wash your hands so the dough doesn’t stick more.
- Now take the dough on a flat surface and gradually add 1 tablespoon oil and start kneading. Knead well for 8-10 minutes till it becomes non-sticky and little elastic. Texture of the dough should be smooth and not sticky. Then put few drops of oil on the dough and shape the dough into a smooth ball.
- Take a bowl, grease it with some oil and place the dough in the bowl. Coat dough with oil, cover the dough with a kitchen towel or plate. Keep aside to rise for 45 minutes – 1 hour or till dough doubles in size.
- Please note we have used 1 tablespoon oil in total for the dough including coating.
- Grease 6 – 7 inch loaf tin with generous amount of oil. We have used 7 inch tin. Once the dough doubles in size, grease your palm with oil, punch the dough and knead lightly for about a minute.
- Take dough on a flat surface. Spread little oil and flatten the dough with your fingers. Measure it with your baking tin just as shown.
- Start rolling from one edge and roll lightly. Keep sealing while rolling. Also, fold both the edges. Now flip the roll and pinch lightly to seal.
- Place the loaf into greased baking tin, cover and let it proof for another 30-35 minutes.
- Pre-heat oven to 180 degrees Celsius.
- After 35 minutes, brush the top of bread with milk and bake in preheated oven at 180 degrees Celsius for 30-35 minutes or until the top turns light brown.
- Once baked, take it out of oven. Top part will be hard. Immediately apply butter on top.
- Cover and let it cool for 5-10 minutes. Then invert and keep on a wire rack. When you will invert, the bottom part will be slightly soft, but it will be ok once it cools down completely.
- Again cover and let it cool down completely on the wire rack for at least 2-3 hours.
- Once the bread cools down completely, slice with a serrated knife. Enjoy.
Video
Nutrition

Leave a Reply