
10 tips to make the perfect Ladi Pav + Tried and Tested Ladi Pav Recipe
If you have questions like –
How to know when the dough is ready before 1st proofing?
Why pav doesn’t rise after 2nd proofing?
how to give exact shape of pav?
Why Pav doesn’t turn brown from top?, then this recipe is for you.
Today we are sharing a tried and tested recipe for ladi pav plus 10 tips to make the perfect Ladi Pav. Homemade pav are always best compared to the store bought ones.
We have already shared 10 tips to make the perfect bread & a fail proof basic bread loaf recipe.
You can also refer to our detailed post on Tips to bake perfect breads. Homemade breads are always great and when we see that perfect loaf come out of our kitchen we feel a sense of happiness. But because of small mistakes or errors, sometimes we may not be able to bake that perfect bread loaf or pav (buns). We have compiled a list of mistakes to avoid that you can avoid while baking. Or you may even say that these are basic tips and suggestions that will help you bake a perfect bread.
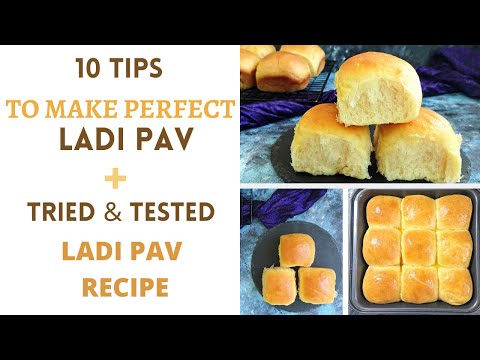
You can read those tips as well since they will also be helpful in making pavs. You can refer the video recipe below for Ladi Pav Recipe :
Below are the 10 Tips to make the perfect Ladi Pav :
TIP 1
Always add sugar while fermenting yeast, but never add salt
To ferment yeast always add sugar to lukewarm water/milk. Never add salt. Adding salt will slow down the yeast growth process. So your dough will not rise much. Hence, always add salt at a later stage. Yes, you can adjust the quantity of salt and sugar in the recipe. But do add sugar while fermenting yeast since this will help to activate the yeast.
TIP 2
Be careful while using milk powder in the recipe
Milk powder can be sweetened or unsweetened. Check yours before adding to the recipe. We have used unsweetened milk powder. If you are using sweetened milk powder, then quantity of sugar required will be little less in the recipe.
TIP 3
Butter should be soft (at room temperature) when you add to the dough. We have used salted butter. If you are using unsalted butter, you can slightly increase the quantity of salt added in the recipe.
TIP 4
How to know when the dough is ready before 1st proofing
Knead the dough for 10 minutes, but do not over-knead. Once ready, dough will become elastic – you will be able to easily stretch the dough and dough will not stick to the surface in which you are kneading the dough.
TIP 5
Why pav doesn’t rise after 2nd proofing
This may be because either you over fermented the dough or kneaded too much before 2nd proofing. For 1st proofing, let the dough rise for 1-1.5 hours or till dough doubles in size. Depending on the weather sometimes it may also be ready in 45 minutes. After 1st proofing, lightly punch the dough and knead lightly for about a minute. Do not over knead.
TIP 6
How to know how many pav to prepare
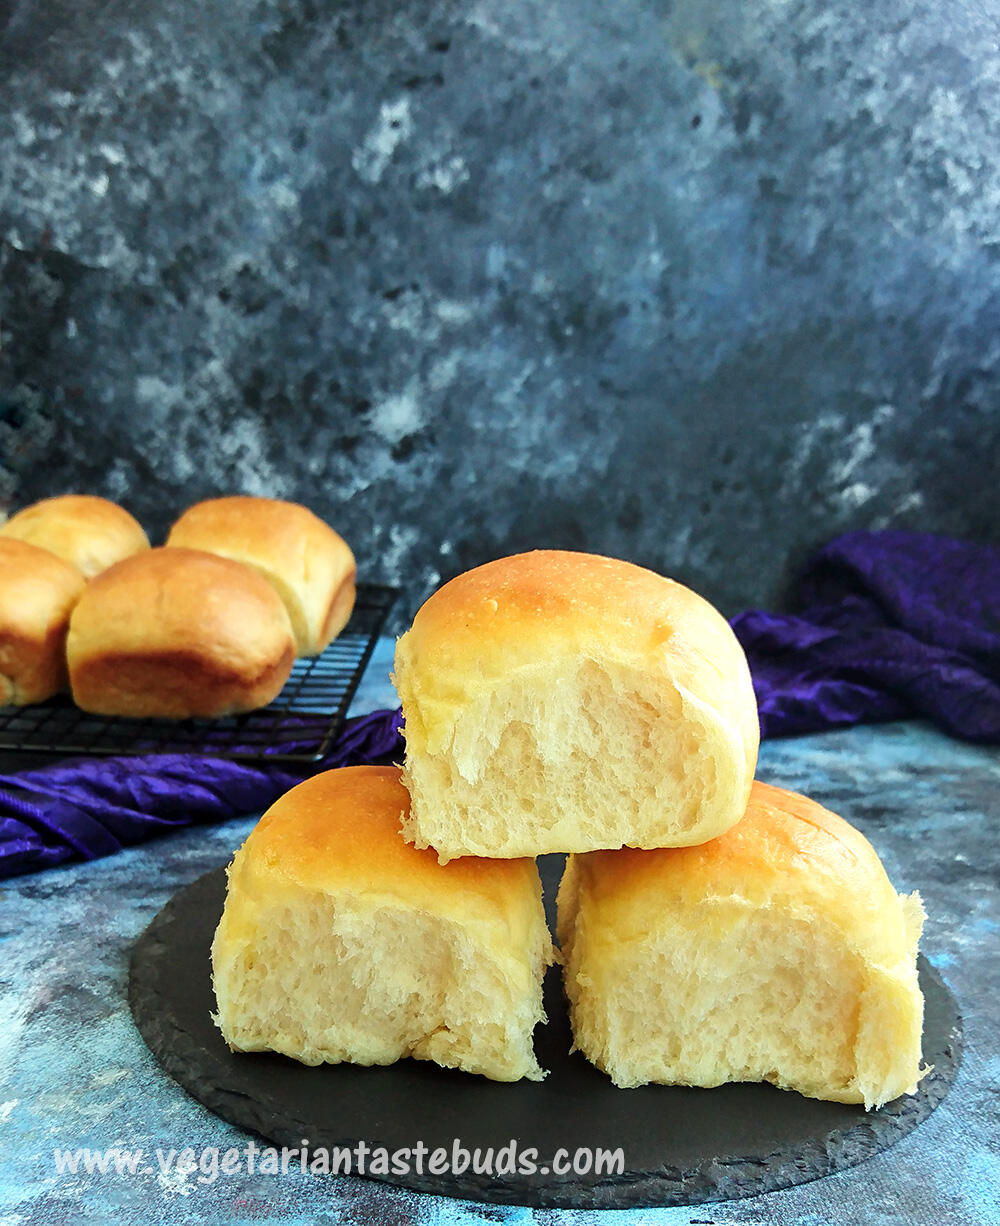
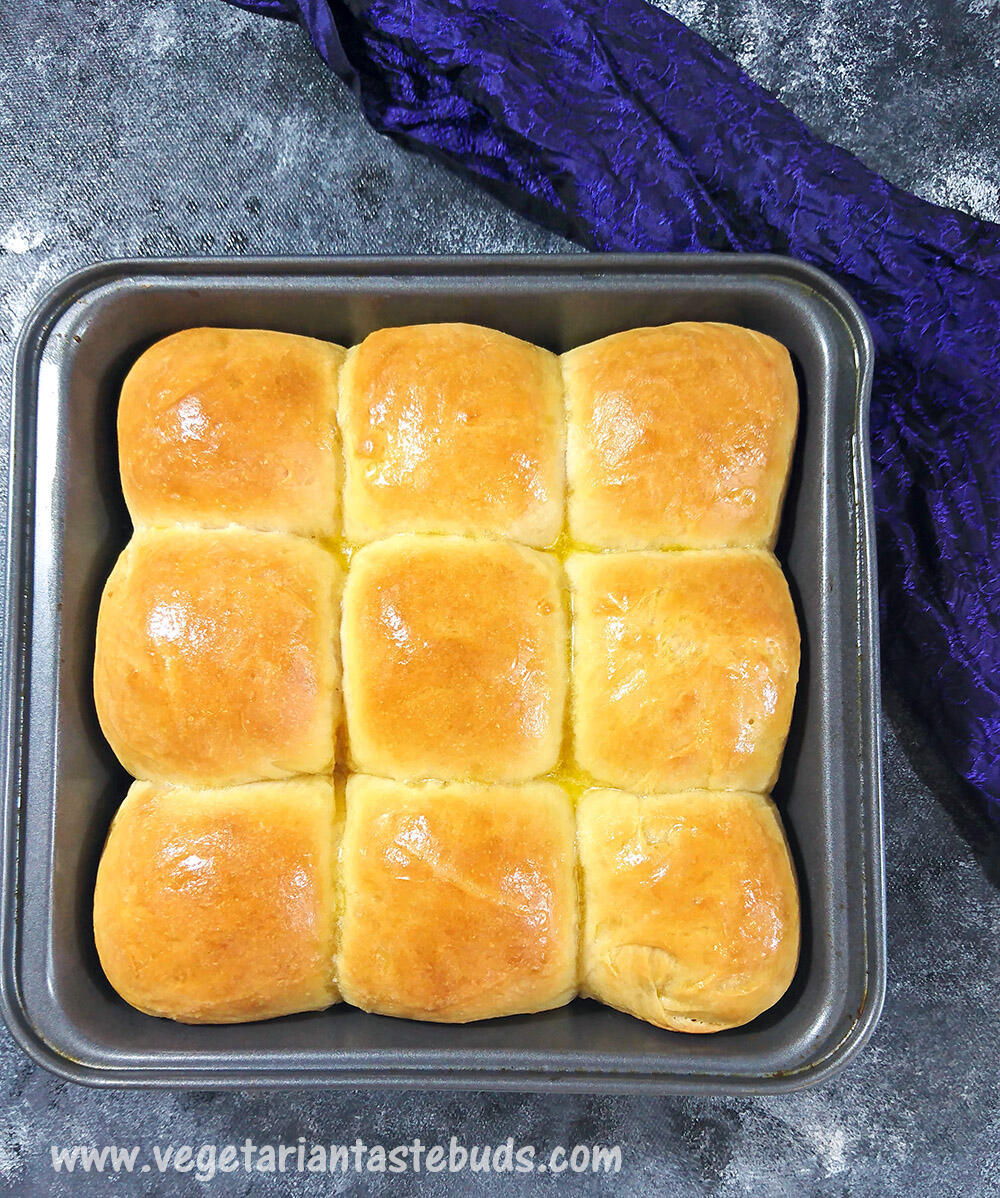
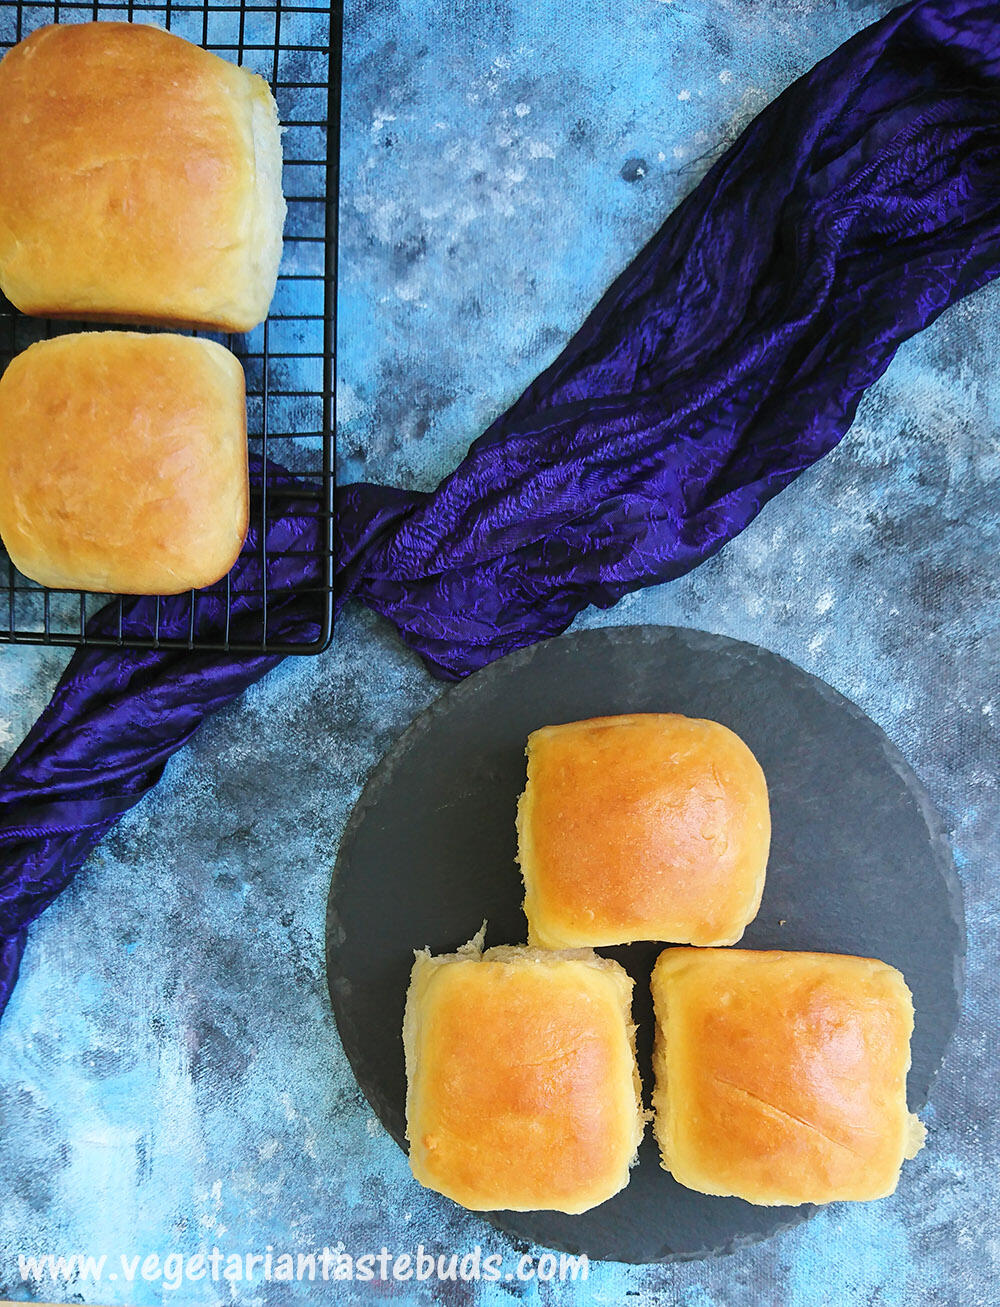
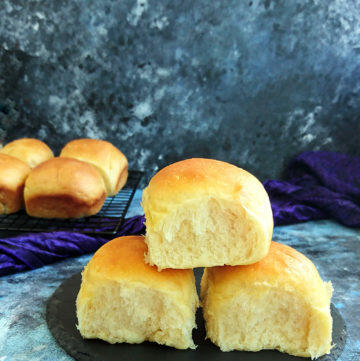
This much quantity of ingredients will yield 9 pav buns. We have used 8 inch square baking tin. These buns will be of the size that you usually get in market for vada pav or pav bhaji. If you prefer small size buns, then you can make 12 pavs.
TIP 7
Things to keep in mind while making balls from the dough
Take one portion in your palm and with other hand bring all the edges together and lightly pich. Now roll ball in circular motion to make a round shape. Do this for all 9 pavs. Make sure there are no cracks in the balls that you form.
TIP 8
Shape of Pav
To get the exact shape as that of store bought ones, place them at a little distance from each other but not too far while baking. If you will leave gaps between them, buns will not rise but instead will spread sideways, resulting in flat pavs.
TIP 9
Why Pav doesn’t turn brown from top :
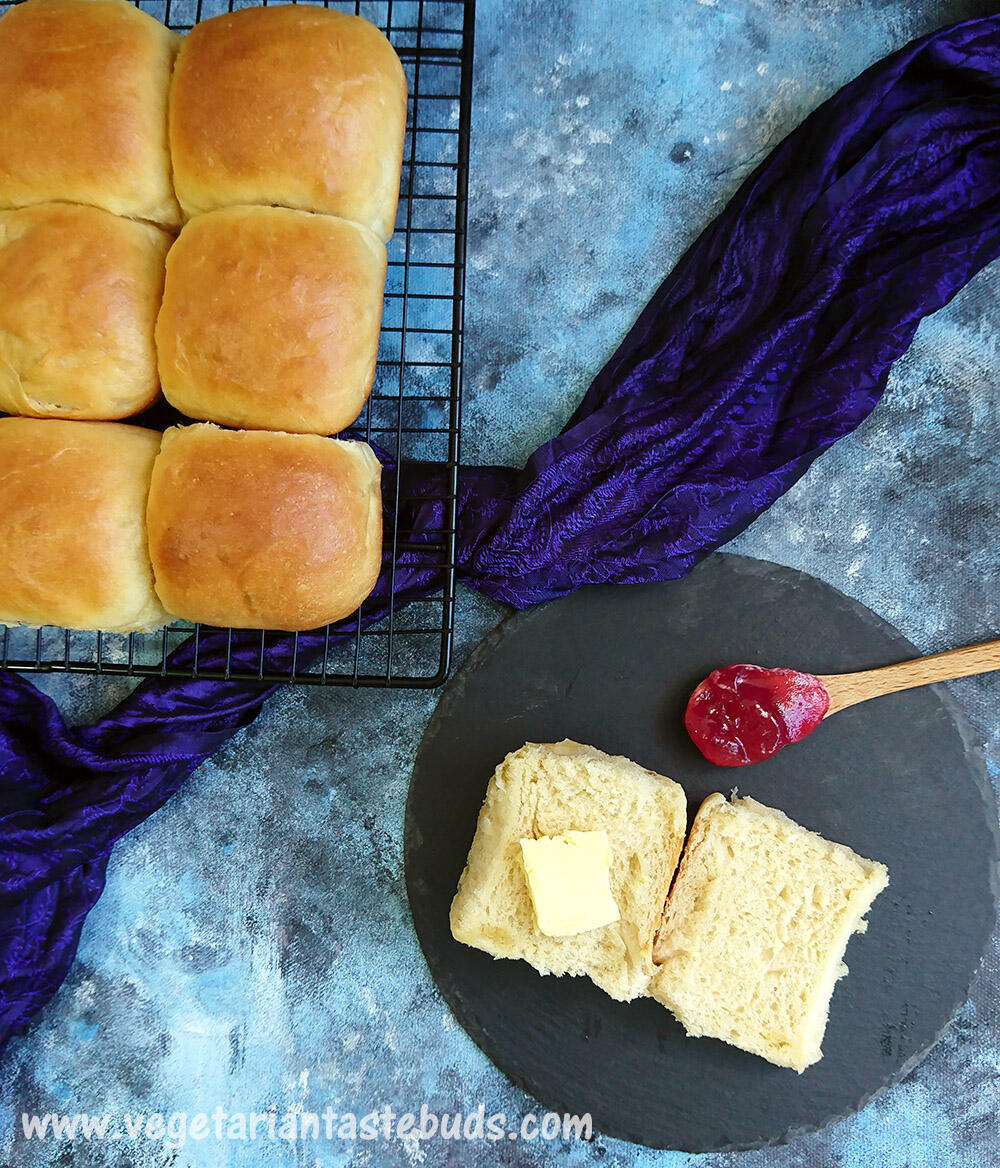
Before baking, it is very important to brush pavs with milk. Milk should be applied evenly so it properly covers all the pavs.
TIP 10
How to store pav : Take an air-tight container and spread paper towel in the bottom. Place pav in it and close. Keep pav at room temperature for 2 days. Day 1 being the day when you prepare and Day 2 is the next day. Keep in refrigerator at the end of Day 2. It will stay good in fridge for another 3-4 days.
Also, do have a look at other Bread Recipes on the blog :
Eggless Herbed Focaccia Bread Recipe
10 tips to make perfect bread + failproof sandwich bread recipe
Ladi Pav Recipe
Loved this recipe? Leave a comment below and give us a 5★ rating
Ingredients (1 cup = 240 ml)
For yeast fermentation
- ½ cup lukewarm milk
- 1 teaspoon instant dry yeast (or 1 ¼ teaspoon active dry yeast)
- 1 tablespoon granulated sugar
For the dough
- 2 cups all purpose flour (maida)
- ½ teaspoon salt (if using unsalted butter, then add ¾ teaspoon salt)
- 1.5 tablespoon milk powder (unsweetened)
- 2 tablespoon salted butter (room temperature) + 1 tablespoon oil (oil to be added while kneading)
- ¼ cup lukewarm water + 1-2 tablespoon or as required
- extra oil for kneading, coating dough
- milk for brushing
Instructions
For yeast fermentation
- In a small bowl, combine ½ cup lukewarm milk, yeast and sugar. Milk should not be too hot, it should be just warm. To test, dip your finger in it, if you are comfortable then temperature is ok. If you feel it is hot then let it cool down a bit.
- Stir well till no lumps remain. If you see that there are lumps of yeast in the mixture, heat the mixture for a few seconds. Cover and set aside for about 10 minutes or till the mixture is frothy. If the mixture does not turn frothy, discard this and start again.
For the dough
- Through a very sieve, sift maida. In a wide bowl combine maida, salt and milk powder. Gradually add fermented yeast mixture and mix.
- Now add lukewarm water gradually and combine everything. Dough should be sticky and loose. We added about ¼ cup + 1 tablespoon water.
- Once everything is combined well, add 2 tablespoon butter and knead till butter is absorbed into the dough.
- Now take this dough on a flat surface and knead well for a total of 10 minutes. After about 5 minutes of kneading, start adding 1 tablespoon oil gradually. Knead until you get a smooth dough.
- Once you are done with kneading, wash your hands so the dough doesn’t stick more. Texture of the dough should be smooth and not sticky. Then put few drops of oil on the dough and shape the dough into a smooth ball and tuck the edges inside.
- Take a bowl, grease it with some oil and place the dough in the bowl. Cover the dough with a kitchen towel or plate. Keep aside to rise for 1 - 1.5 hours or till dough doubles in size.
- Grease 8 inch x 8 inch square baking tin with generous amount of oil/butter. This much quantity of ingredients will yield 9 pav buns. These buns will be of the size that you usually get in market for vada pav or pav bhaji. If you prefer small size buns, then you can make 12 pavs.
- Once the dough doubles in size, punch the dough and knead lightly for about a minute. Spread oil on a flat surface and place dough over it. Flatten the dough with your fingers and shape it rectangular. With the help of a sharp knife or pizza cutter, divide into 9 equal portions.
- Take one portion in your palm and with other hand bring all the edges together and lightly pinch. Now roll ball in circular motion to make a round shape. Do this for all 9 pavs. Make sure there are no cracks in the balls that you form.
- Place the pavs into greased baking tin, leave little gap but not too much. Cover and let it proof for another 40 minutes.
- Pre-heat oven to 200 degrees Celsius for 10 minutes.
- After 40 minutes, brush the top of pav with milk and bake in preheated oven at 200 degrees Celsius for 15 minutes or until the top turns light brown. If you feel top is not brown enough after 15 minutes, you may bake for 2-3 mins more.
- Once baked, take it out of oven immediately. Top part will be slightly hard. Immediately apply butter on top. Once you apply butter, wait for 5 minutes so butter is absorbed. Then cover and keep for another 5 minutes.
- Then invert and keep on a wire rack. When you will invert, the bottom part will be slightly soft, but it will be ok once it cools down completely.
- Again cover and let it cool down completely on the wire rack for atleast for 1-2 hours. Once the pav cools down completely, then separate them. Enjoy.
Video
Leave a Reply